To manage Linux servers for hosting purposes most of the services are using WHM’s Cpanel. Although there are many hosting manager software, because of its easy-to-use interface and features, it is one of the best control panels for Web hosting services. And here we will know the steps to install cPanel & WHM on Rocky Linux 9.2.
What is cPanel?
cPanel, Control Panel, is a control panel developed in 1997 that offers us high-quality web hosting with excellent features that, thanks to WHM (Web Host Manager), can be managed from a graphics console, with everyone doing their job.
Its key features:
- Reselling of hosting services
- Manage web hosting accounts
- User-friendly interface
- It allows us to create email accounts, redirects, and automatic replies.
- Apache and MySQL integration
- More than 500 applications and plugins to expand its features
- Allows transfers and backups
- And more…
Installation requirements for CPanel and WHM in Rocky Linux 9.2
- A valid static IP address and hostname
- 1.1 GHz CPU- 64-bit
- Minimum: 1 GB and Recommended: 2 GB
- Free space on the 20 GB hard drive, however, 40 GB is recommended
As a cPanel license, they offer a trial version, hence we can try it for 15 days without paying anything. Whereas, the personal license is available at 15 dollars per month.
Note: Once installed you cannot uninstall this control panel from your server. To remove it you have to reinstall AlmaLinux.
Steps to install WHM CPanel on Rocky Linux 9.2
1: Run system update
Before moving forward and install anything let’s update our system’s existing packages to the latest version.
yum update
yum upgrade
2. Install Perl and Curl
Since the cPanel is written in Perl, let’s first install it on our Rocky Linux 9.2 and along with curl that we will use to download the cPanel installation script.
yum install perl curl
3. Download WHM cPanel installation script
Now, we run the following line to download the script to our main directory that will automate the installation process.
cd /home && curl -o latest -L https://securedownloads.cpanel.net/latest
4. Run Cpanel installation script on Rocky Linux 9.2
After downloading, we start the execution process of the downloaded script by using the given command
sh latest
Note: If you get a hostname error then you can set that by using the command-
hostname you-host.example.com
Replace your-host.example.com with the actual hostname you want to use. For example– in our case, we have used cpanel.how2shout.com
5. Login to WHM
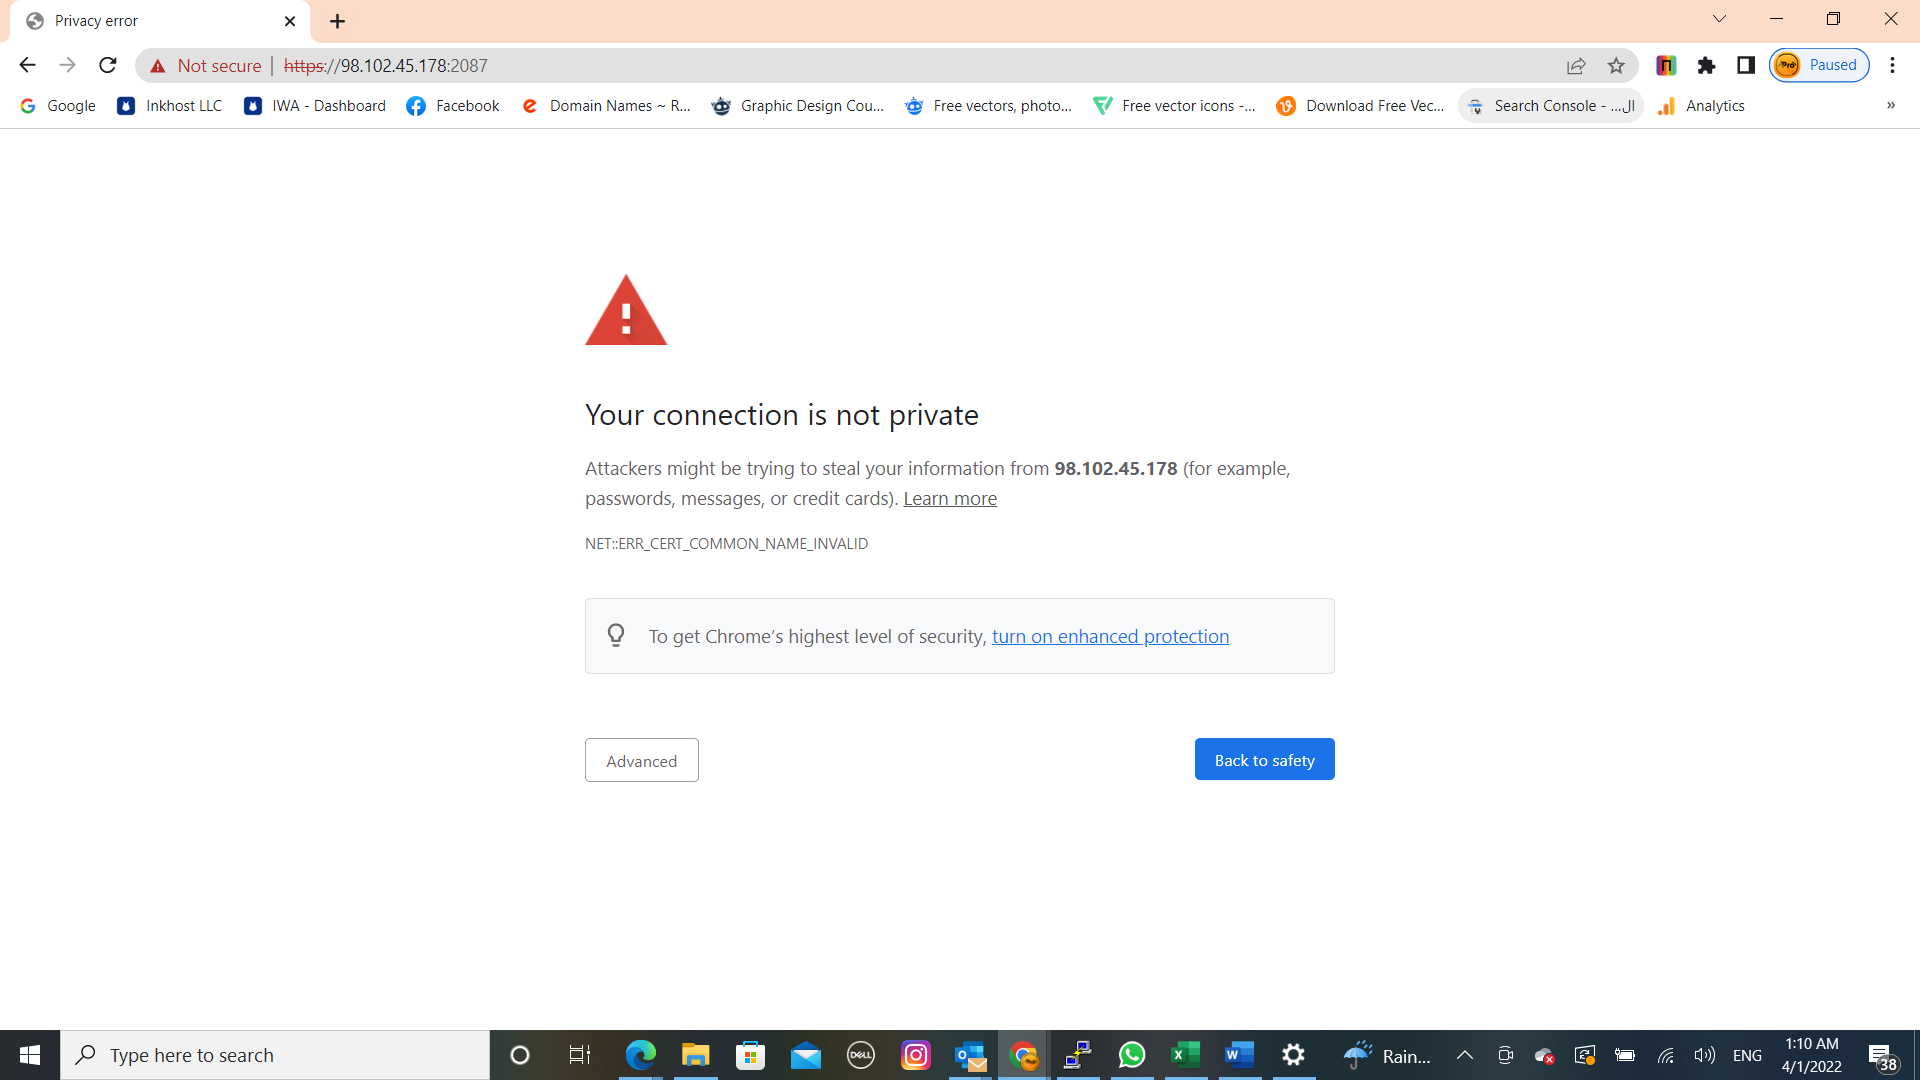
Once this process is completed, we can access cPanel, go to a browser and enter the following line in the address bar: https://Server_IP: 2087. Replace Server_IP with your Ip-address.
As we can see, this indicates that the connection to the site is not secure. To bypass this, click on the Advanced button and proceed with the “Continue to IP-address (unsafe)” link. This will add the appropriate exception in the new window to allow the connection with cPanel.

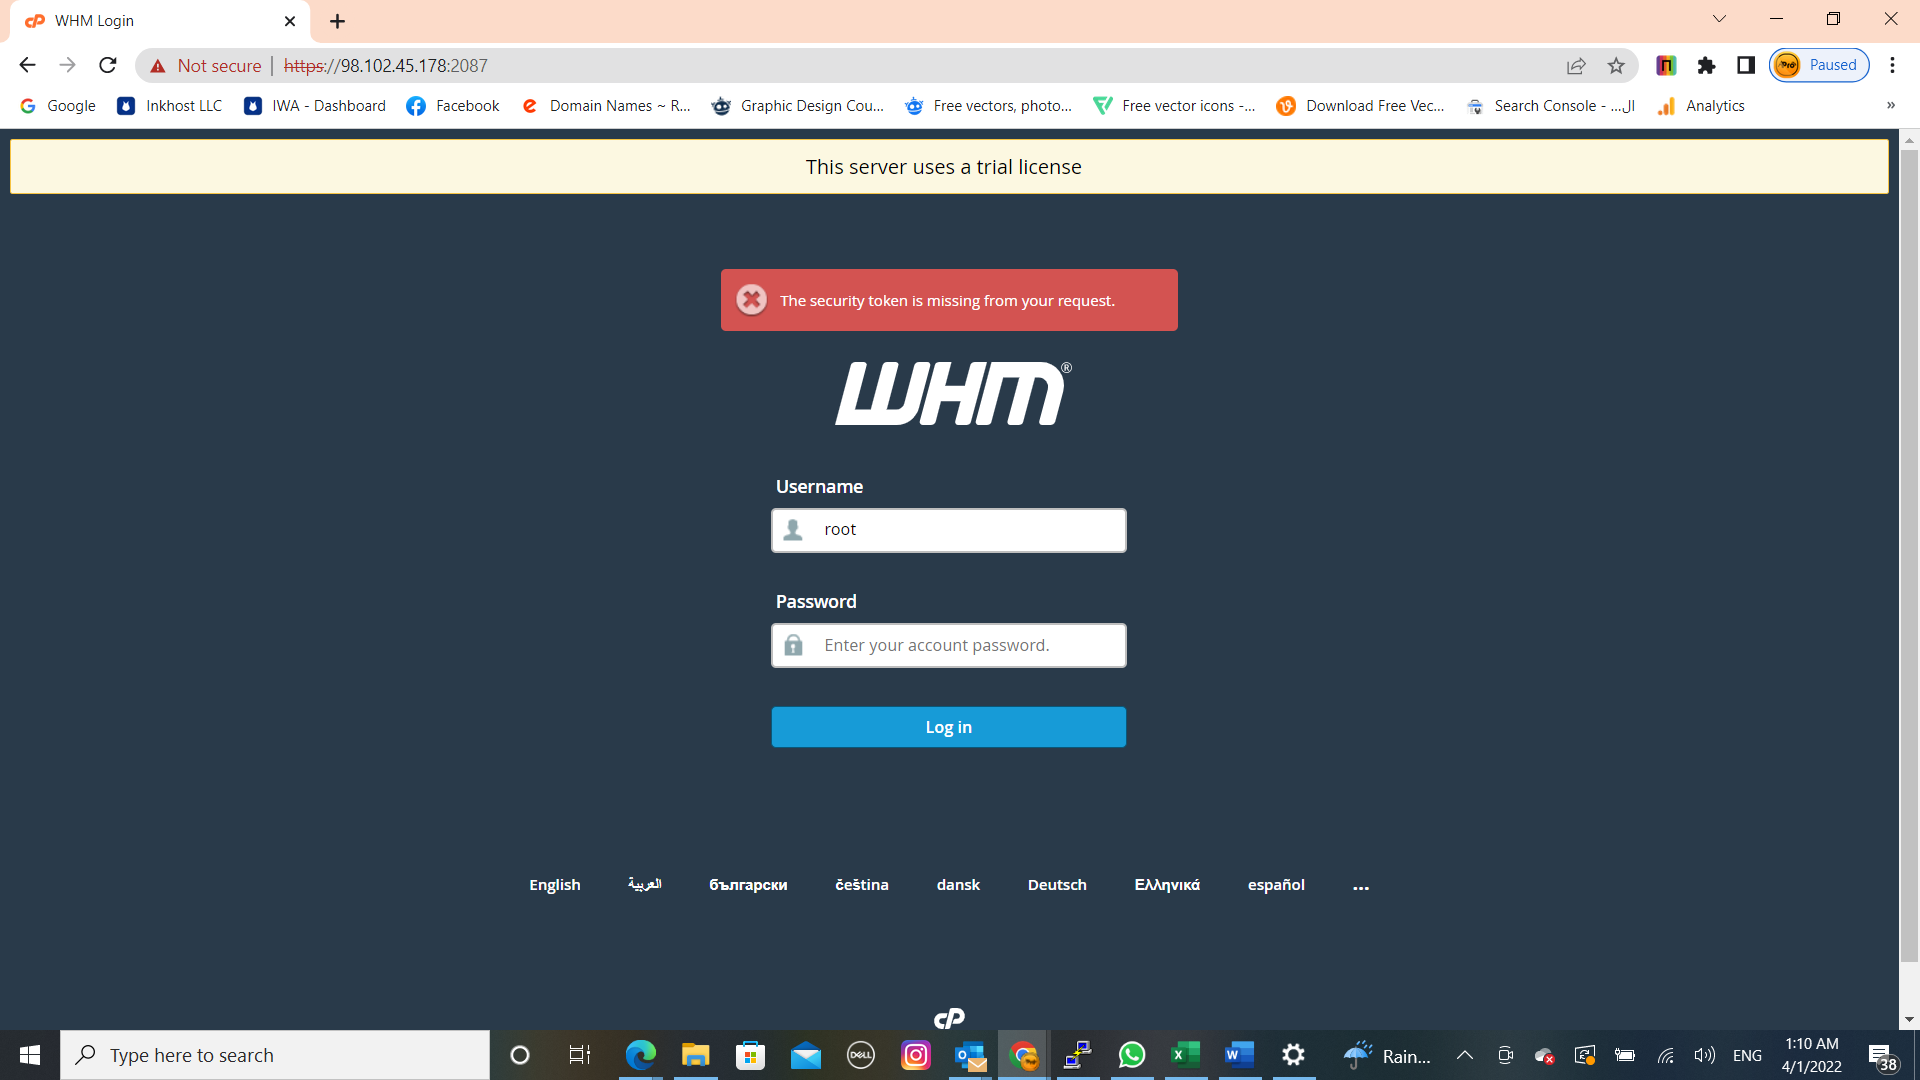
The following window is displayed in which you have to enter your AlmaLinux root user and password to access data for cPanel

